Patch Advice
By Daisy Dad Kessler
Our daughters will be learning so much from our troop, and will be rewarded with patches! You, as the proud parent of a Daisy, will soon learn that attaching a girl scout patch is one of the most frustrating experiences in life. Here is what we have found to help:
Ironing Help.
The patches can be extremely difficult to attach. I have found that the thicker ones are particularly hard to heat up enough without burning the uniform. Try these steps to help:
- Get a press cloth.
- This will help avoid burns on the uniform itself.
- Place the cloth between the iron and the piece you are ironing.
- A sufficiently thin cloth should spread heat out without soaking up too much itself.
- Always be moving.
- It is annoying, but constantly moving the iron in a small circle on-top of the patch will help.
- Iron patch face until glue is activated, and then flip.
- The trick in flipping is to not bend the fabric and disconnect the patch during the flip.
- After flipping, put the press cloth between the iron and the back of the fabric, with the patch on the other side.
- Continue ironing in small circles until you are reasonably sure the glue has made its way between the patch and the apron/vest.
- Leave to cool!
- Do not pick up/bend the fabric while its cooling - that is basically game over at that point, as the glue really does not work after heating once.
If all else fails…
So this is the truly frustrating part: If you have spent a while trying to attach using the above guide and it does not work, the time has come to give up. And by that I mean: stitching.
The good news is that you can use a tiny stitch to augment the glue that just is not doing its job, or to completely attach without any help from the glue. See these pictures to detail how the stitches can be small and still hold:
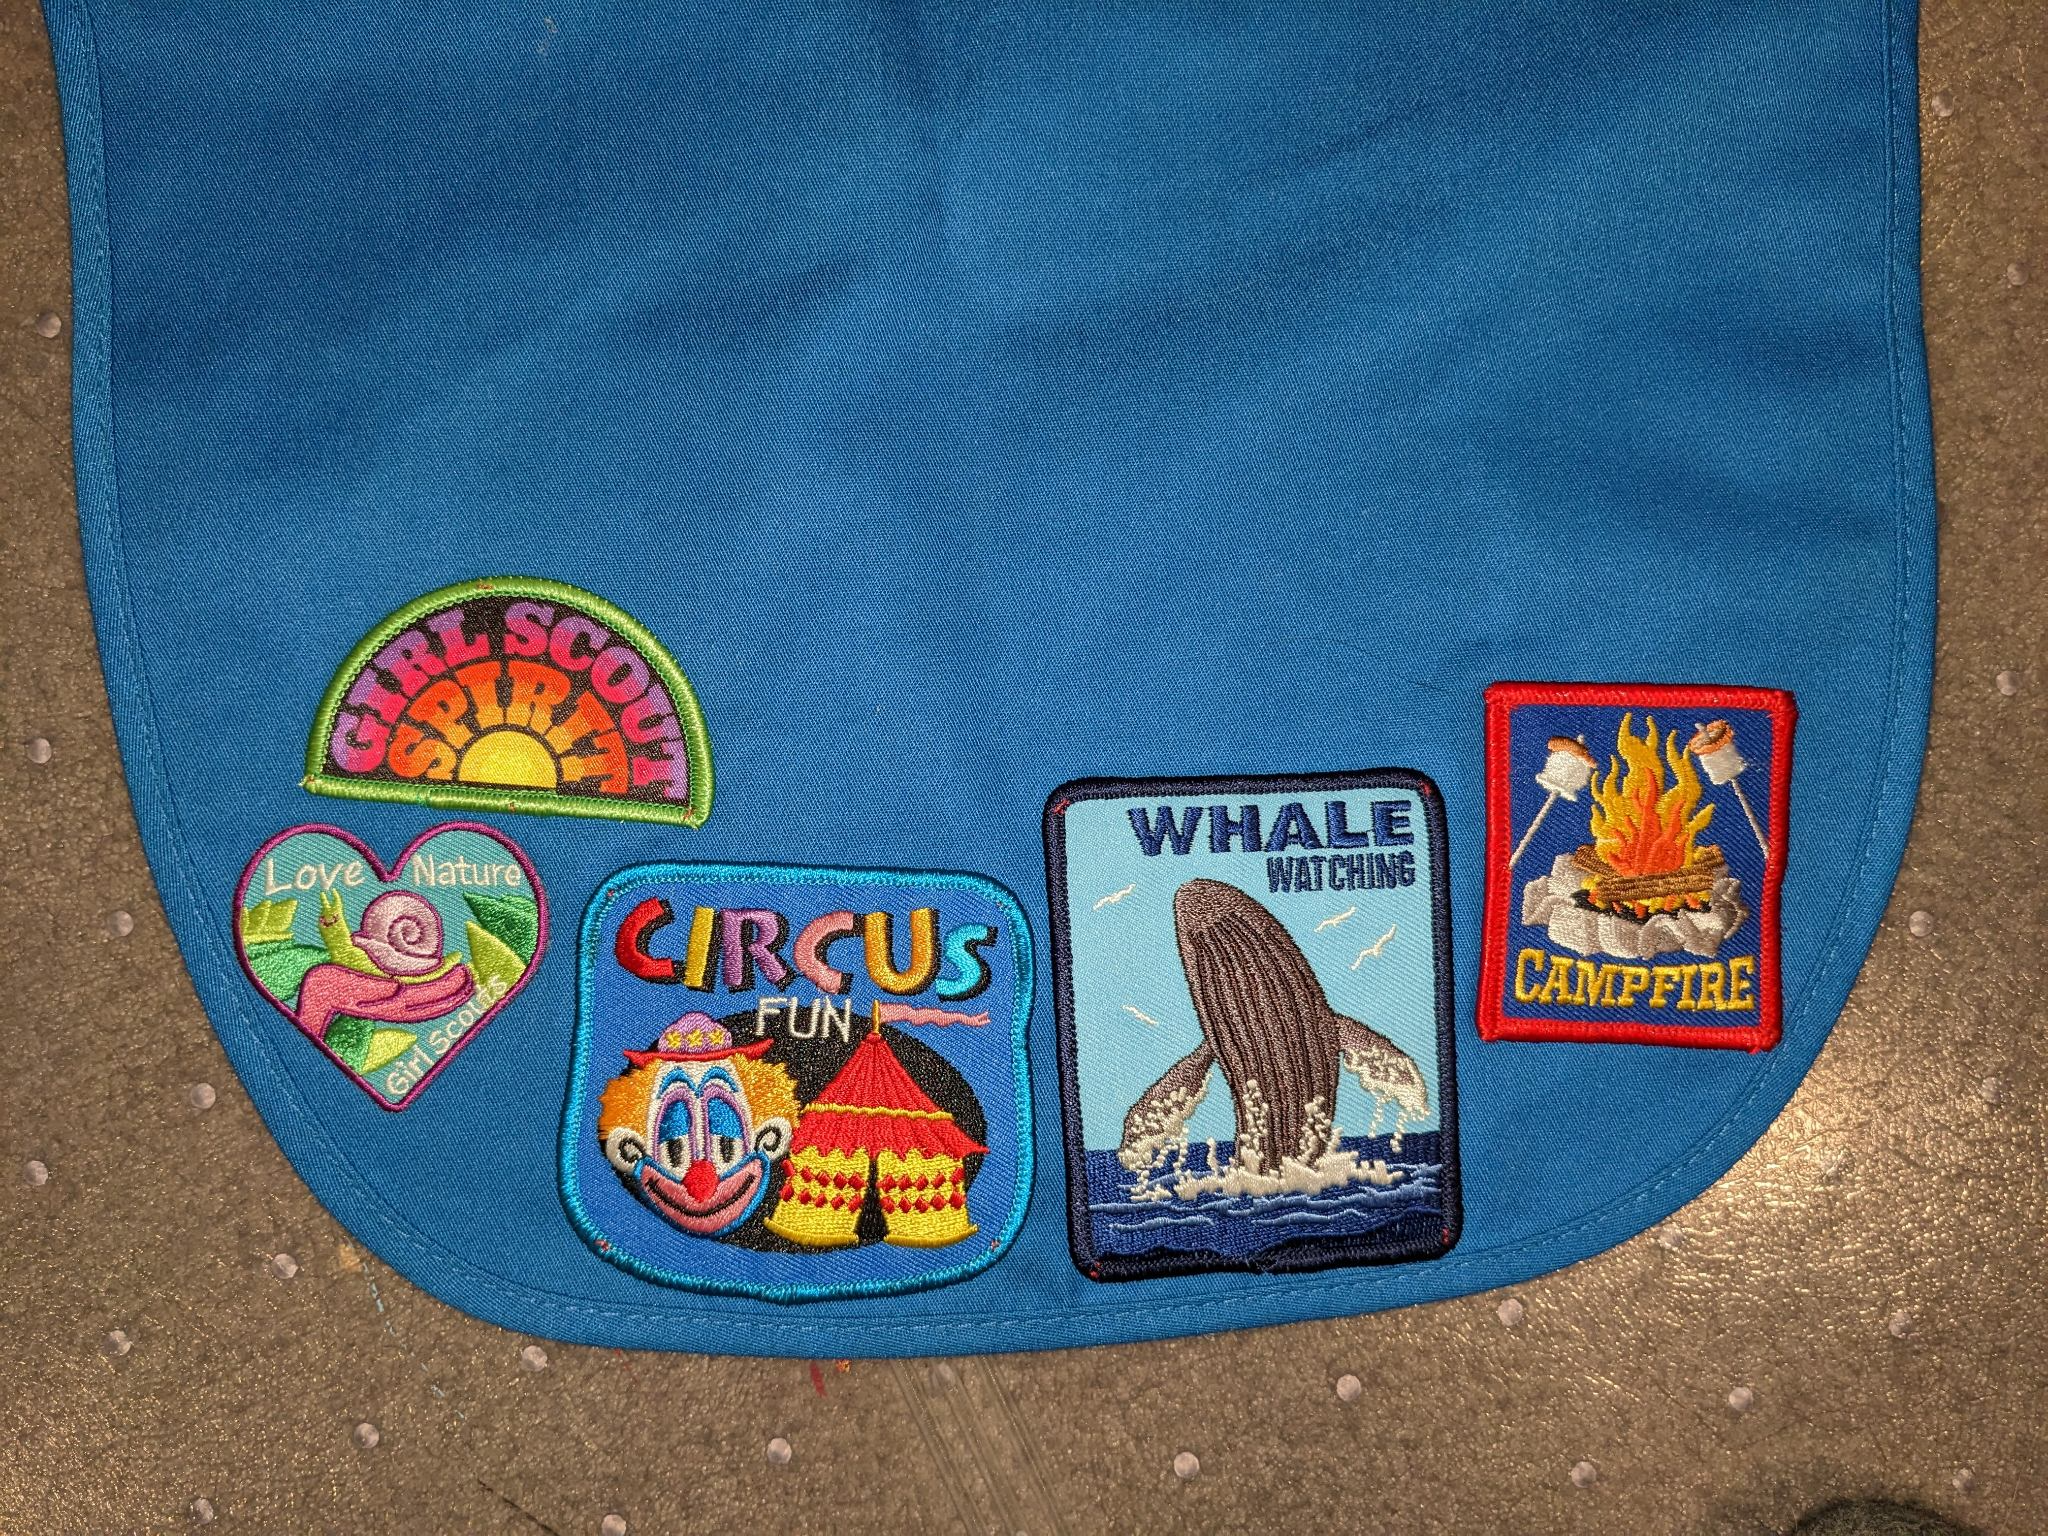
Apron front with badges
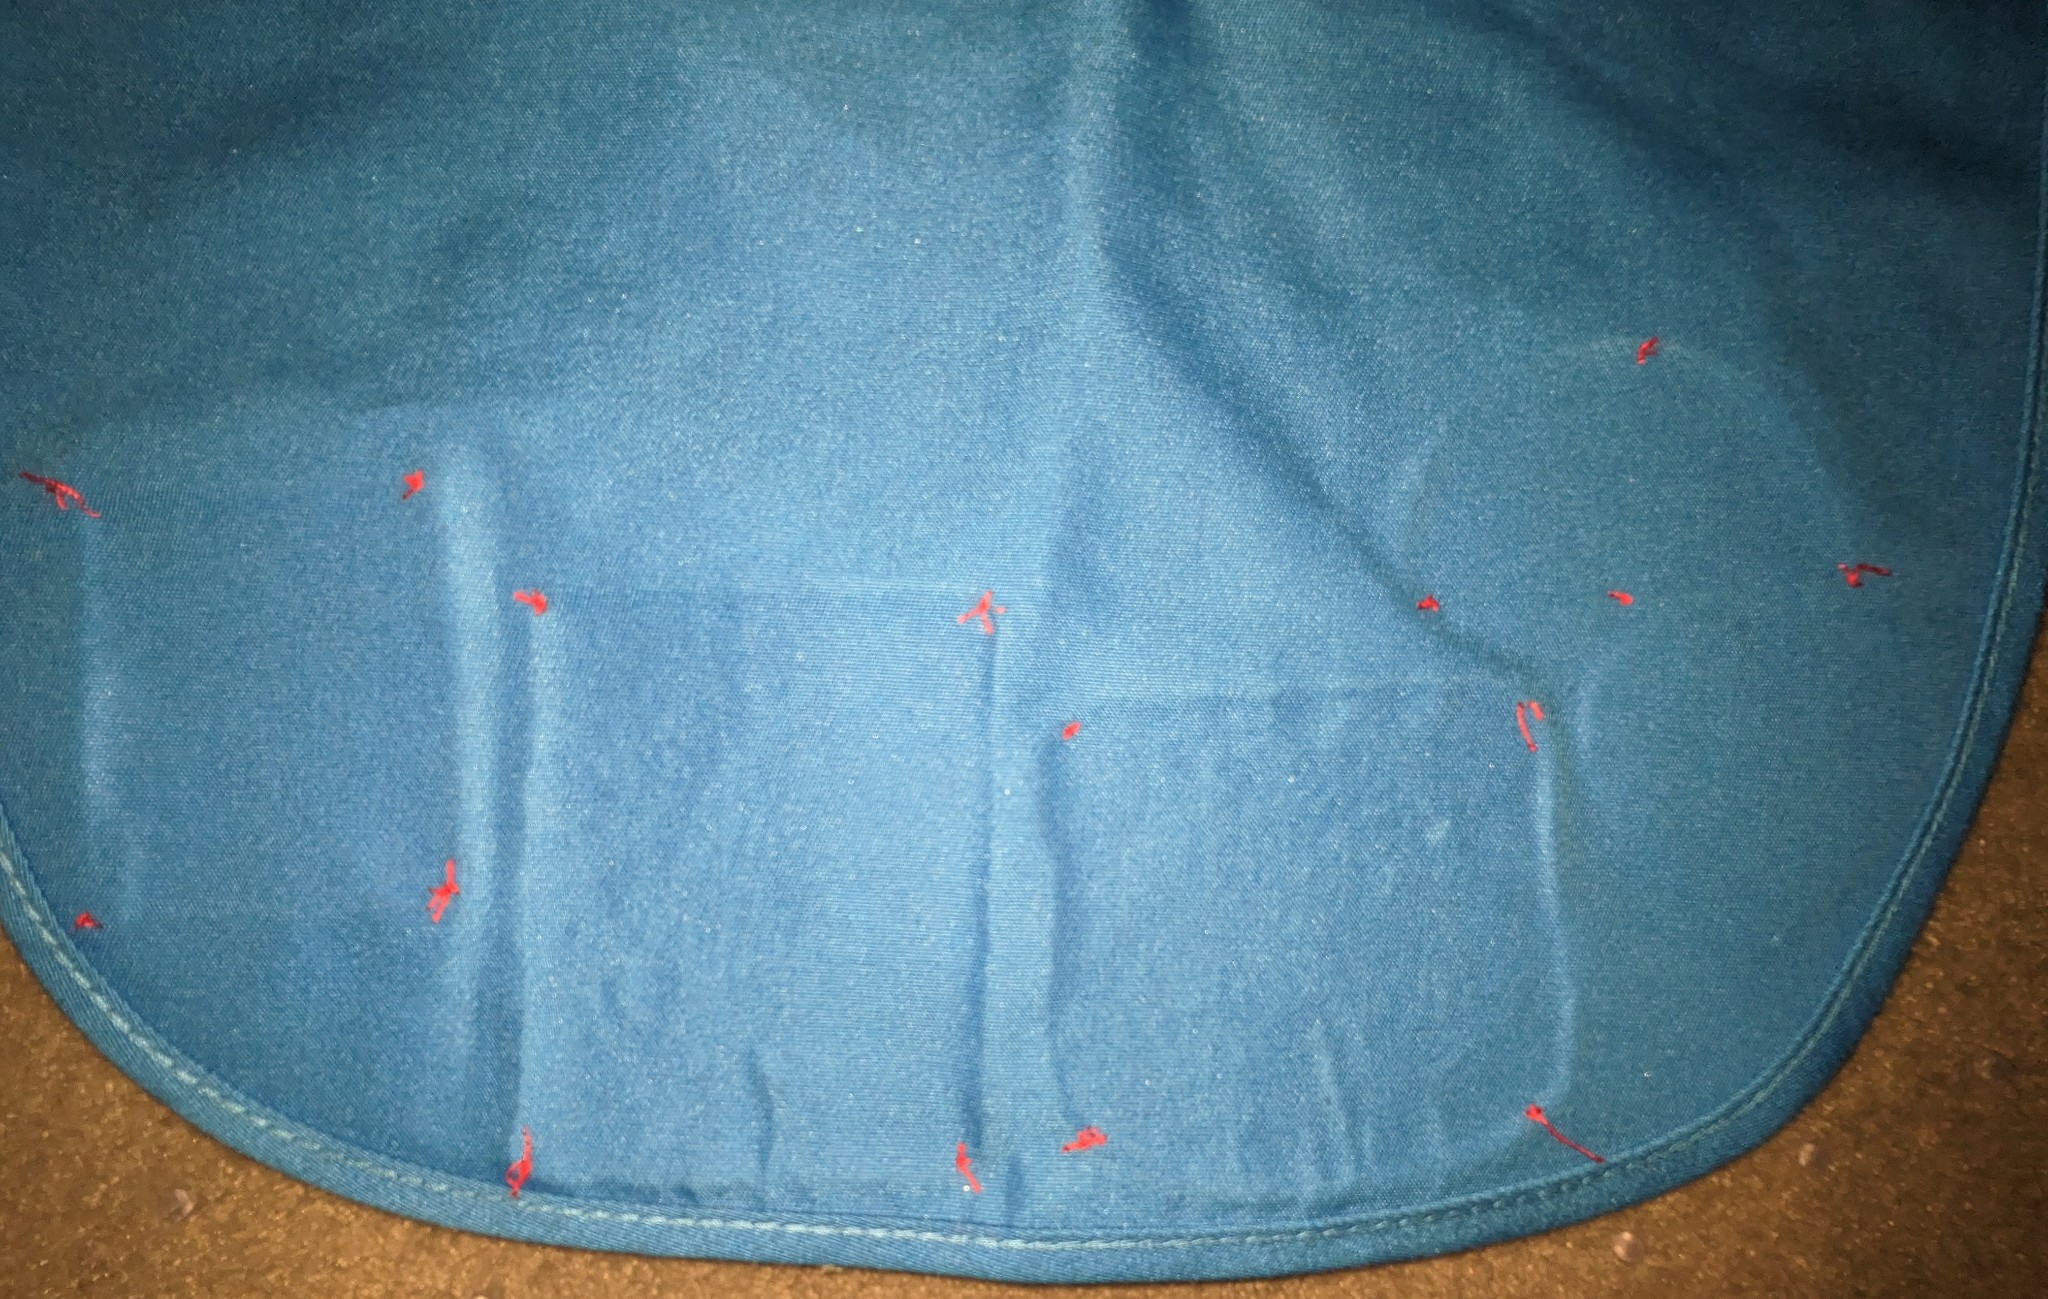
Apron back with stitches